Build guide
Aquaponic Raft System: Raft vs NFT vs Media Bed
As an Amazon Associate we earn from qualifying purchases. How we choose products.
On this page
An aquaponic raft system grows plants on floating boards over a deep channel of fish water, and it is the best fit when you want to grow a lot of leafy greens or herbs in a small footprint. Pick a media bed if you are starting out and want a forgiving system that filters its own water. Pick aquaponic NFT if you want a light, space-saving system for herbs and greens and you are happy to build separate filters.
That ranking follows the FAO manual Small-scale aquaponic food production (Technical Paper 589), which describes the same three methods under the names media bed, nutrient film technique (NFT) and deep water culture (DWC), the last also called the raft method or floating system. Below you will find the three side by side, a closer look at floating raft aquaponics, a build you can follow for a small unit, and a short guide to choosing. If you only want the hydroponic version without fish, see our DWC hydroponic system guide.
The Three Aquaponic Growing Methods at a Glance
Every aquaponic unit has the same core: a fish tank, a way to remove solids, a place where bacteria convert ammonia, and somewhere for plants to grow. FAO says the plant section comes in three main designs. This table summarizes how they differ, using the strengths and weaknesses FAO lists in Table 4.2 of its manual.
| Media bed | NFT | Raft (DWC) | |
|---|---|---|---|
| Where the roots sit | In gravel or clay media | In a shallow stream inside pipes | Hanging in deep water under a floating board |
| Filtration | The media filters solids and hosts the bacteria | Separate mechanical filter and biofilter required | Separate mechanical filter and biofilter required |
| Best plants | All types, including heavy fruiting crops | Herbs and leafy greens | Leafy greens and herbs; tomatoes and cucumbers with support |
| Main cost | The media, which can be expensive and heavy | Filters, plumbing and both pumps | Large canals, liners, air stones and filters |
| If the power fails | Water stagnates and loses oxygen | The pipes dry out | Can withstand short interruptions |
| Weak point | Weight, and media can clog at high stocking density | Low water volume magnifies water quality problems | Needs high oxygen in the canal; polystyrene breaks easily |
The table covers the trade-offs, not a winner. FAO says DWC is the most common method for large commercial farms growing one crop, typically lettuce, salad leaves or basil, while it calls NFT ideal for herbs and leafy greens and media beds simple and forgiving. The sections below explain each one in turn.
Aquaponic Raft System (DWC)
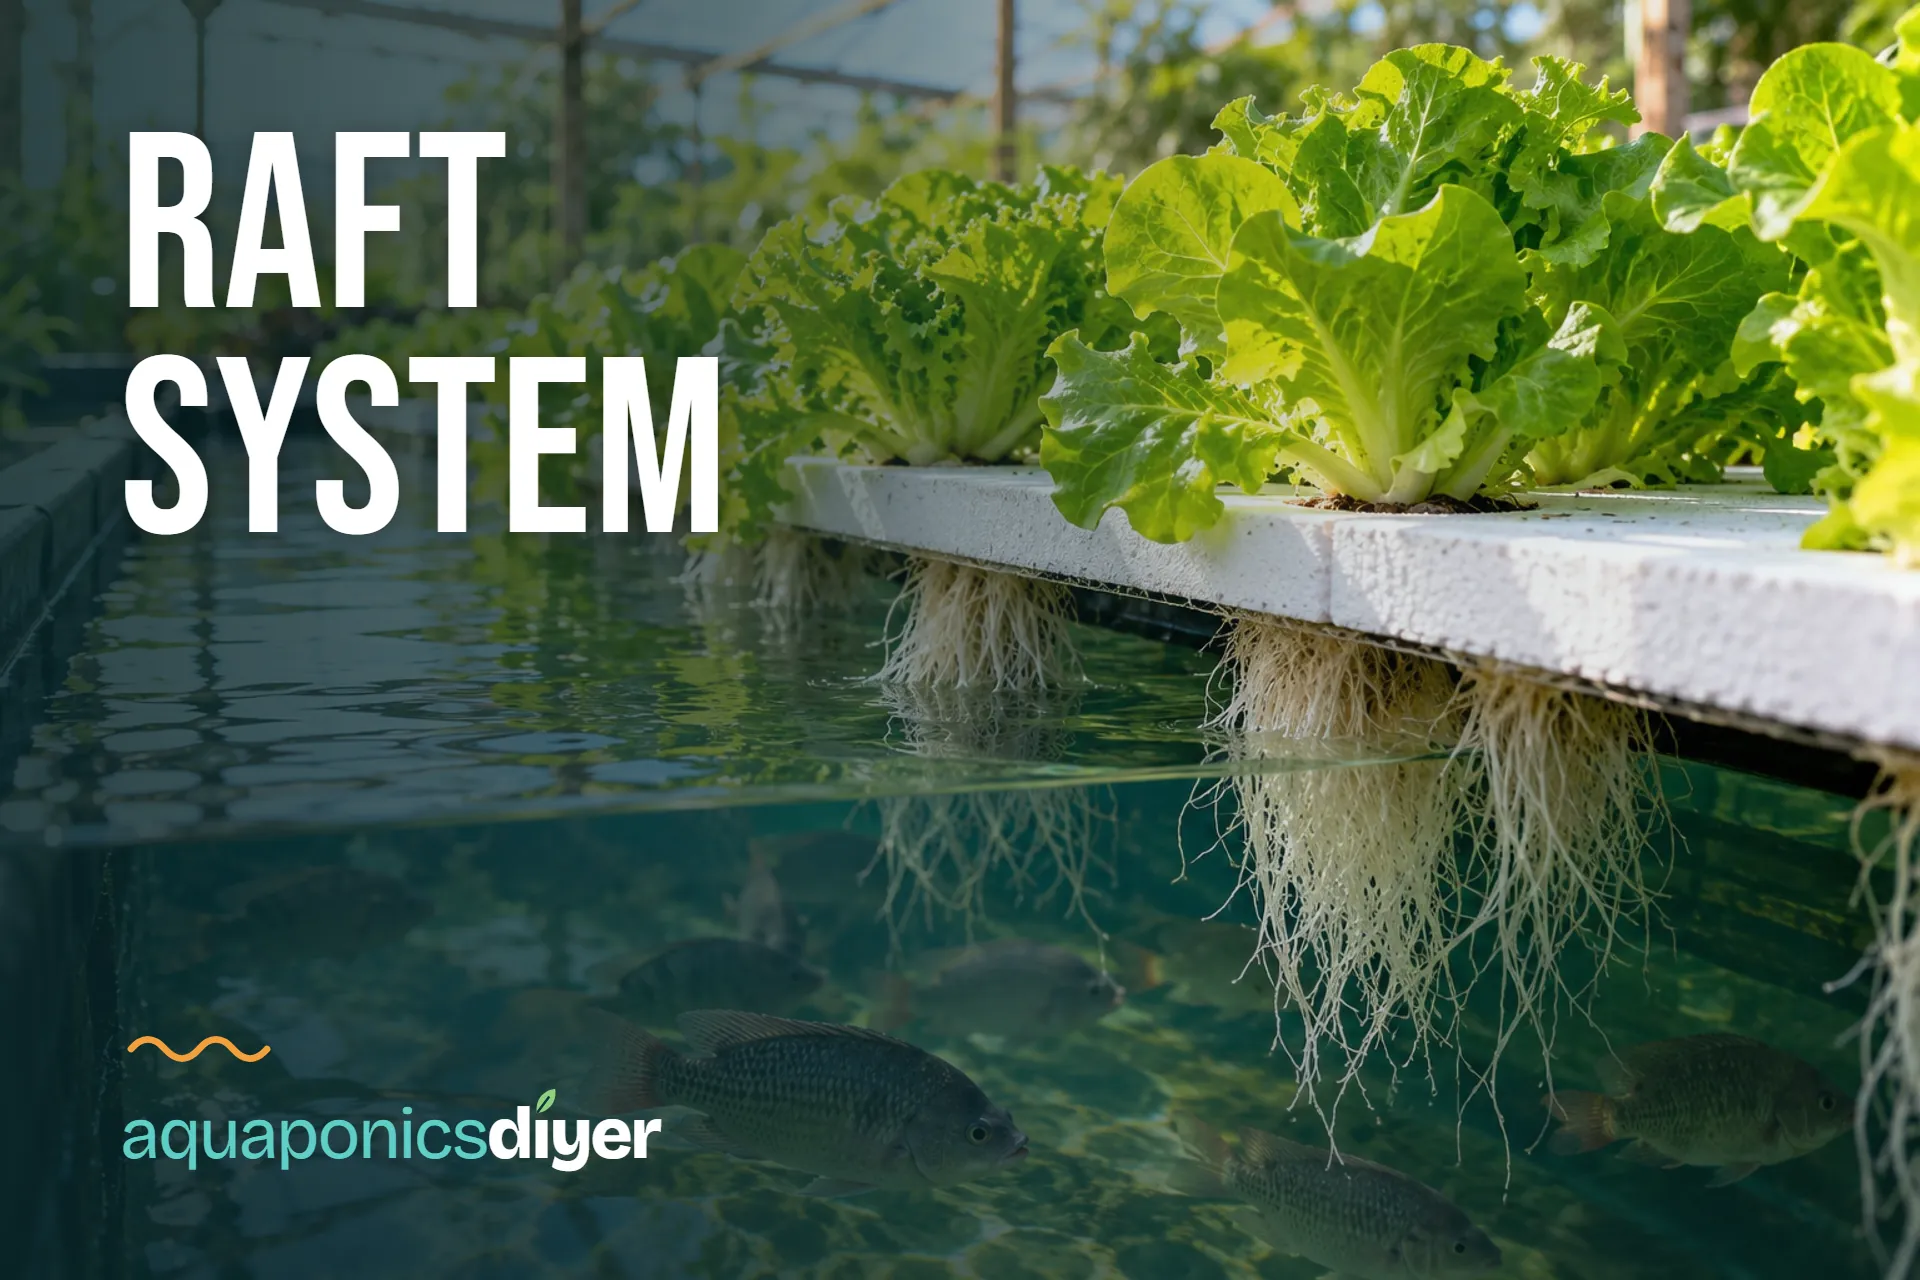
Floating raft aquaponics, also called raft system aquaponics or DWC aquaponics, suspends plants in sheets of polystyrene that float on top of a canal of aquaponic water, with the roots hanging down into it. FAO notes that on a small scale this technique is more complicated than a media bed and may not suit places where materials are hard to get. Where you can get the parts, it gives you a lot of growing area for very little weight of plants and almost no media to buy.
How a Raft Works
Water leaves the fish tank by gravity, passes through the mechanical filter and into a biofilter, and is then pumped to the canals. FAO says each canal should have one to four hours of retention time, meaning the time it takes to replace all of its water. For example, a 600 liter canal fed at 300 liters per hour has a two hour retention time. The recommended canal depth is 30 cm (about 12 inches) to give the roots room. The large volume does a lot of the work: FAO says it dampens changes in water quality, keeps temperatures steady under the insulating boards, and loses little water to evaporation.
The raft itself is a biofilter helper too. FAO lists “rafts provide biofilter surface area” among the strengths of the method, and says harvested rafts should be cleaned but never left to dry, so the nitrifying bacteria on the submerged surface survive. After a harvest, remove the whole plant, roots and dead leaves included, from the canal.
Filtration a Raft Needs
FAO is firm here: dedicated filtration is of critical importance in both NFT and DWC units, because their growing section does not trap or process waste the way a bed of media does. You build two things on purpose, a mechanical trap for solids (FAO uses a swirl filter followed by a mesh screen) and a biofilter where nitrifying bacteria convert ammonia to nitrate. Skip them and, in FAO’s words, both types of unit would clog, become anoxic and give poor growing conditions to plants and fish alike. Our fishless cycling guide explains how to get the bacteria established before the fish arrive.
FAO also describes a special low-density raft design with no external filters at all. It carries only 1 to 1.5 kg of fish per cubic meter of tank water, relies on the plant roots and canal surfaces to house the bacteria, and uses simple mesh screens for solids. It is cheaper to build, but it makes fewer fish and plants, and the plants must stay in the canals at all times, because harvesting them all at once would cut the biofiltration and raise ammonia.
Raft Boards and Net Pots
FAO’s rules of thumb for rafts are simple. Cover the water completely so no light reaches it. Use polystyrene at least 3 cm (about 1.2 inches) thick so it can hold the weight of the vegetables. Make sure the material is food-grade or otherwise safe for food production, because it will not release toxins into the water. Painted plywood can be used instead. Holes are drilled with a circular bit, and FAO gives a range of 16 to 30 mm for the cups it uses, depending on the size of net cup you have. Wider 3 inch net pots need a larger hole, so match your hole saw to the pot rim rather than to the FAO figure.
Seedlings go into a net cup, and the remaining space is filled with volcanic gravel, rockwool or LECA to hold the plant upright. Our best plants for aquaponics guide says which crops to start with.
Aeration in the Raft Tank
Aeration is vital in a raft canal, according to FAO. In a densely planted canal, plant roots use so much oxygen that dissolved oxygen can fall below the minimum, and any decomposing solid waste makes it worse. FAO’s simplest fix is several small air stones in the canal releasing about 4 liters of air per minute each, arranged one for every 2 to 4 square meters (roughly 22 to 43 square feet) of canal. Venturi siphons on the inflow pipes add more oxygen as the water enters.
There is a second option, the Kratky method of DWC. You leave a 3 to 4 cm (1.2 to 1.6 inch) air gap between the polystyrene and the water, so the top of the roots breathe air. FAO says this removes the need for air stones, keeps plant stems out of the water, which reduces collar disease, and helps heat escape in hot climates. Keep the aerators running in the fish tank either way.
One caution from FAO: do not put herbivorous fish such as tilapia or carp in the canals, because they will eat the roots. If mosquitoes are a worry, small carnivorous fish like guppies, mollies or mosquito fish can be used. See our fish comparison for what to stock in the main tank.
How to Build a Small Raft System
This outline follows FAO’s DWC design, scaled to a backyard or garage unit. Sizes are yours to choose, but the principles come straight from the manual. For pump sizing, read our aquaponics pump guide first.
Build a small raft aquaponic unit
-
Plan the layout and the fish stocking
Choose a stable, level spot with shade and shelter from wind. Decide the fish tank size and how many fish it will hold. FAO’s guide of 10 to 20 kg of fish per 1,000 liters (about 1 pound per 6 gallons at the upper end) keeps a first system safe. Match canal area to fish: fish feed is what fertilizes the plants.
-
Build the canal
Make the canal about 30 cm (12 inches) deep from any strong inert material that holds water. Plastic IBC containers, fiberglass, wood or concrete blocks lined with food-grade sheeting all work. Seal concrete with a non-toxic waterproof sealer so minerals do not leach into the water. Make the width the standard width of a polystyrene sheet, or a multiple of it, and keep it reachable from the side.
-
Add the mechanical filter and the biofilter
Water flows by gravity from the fish tank into a filter that traps solids, then into a biofilter with plenty of surface area and air. Raft units cannot skip this. If you want a design with no external filters, keep fish density very low, as described above.
-
Connect the pump and set the flow
Pump water from the biofilter back to the fish tank and to the canal, with a valve so you can split the flow. Aim for one to four hours of retention time in the canal. To check the flow, time how long a 1 liter bottle takes to fill: at 75 liters per hour it fills in 48 seconds, and at 300 liters per hour in 12 seconds.
-
Install the air pump and air stones
Put the air pump in a protected, dry box above the water line. Run airline to air stones in the fish tank, the biofilter and the canal. Space the canal stones one for every 2 to 4 square meters, and check that the pump can supply them all.
-
Cut and drill the rafts
Lay a polystyrene sheet over the canal, mark the edge and cut it to fit. Drill planting holes with a circular bit at the spacing the crop needs, plus one hole for any standpipe. For reference, FAO’s costing example for a small unit assumes about 20 leafy-green plants per square meter.
-
Fill, leak test and cycle
Fill the tank, filters and canal, run the pump and fix every leak before any life goes in. Then cycle the system with an ammonia source to grow the bacteria, as in our fishless cycling guide. Test ammonia, nitrite and nitrate until the readings settle, then add a few fish and your first seedlings.
-
Plant seedlings and maintain the boards
Start seedlings in rockwool or a soil-less medium, then place each one in a net cup filled with media and set it in a hole. After harvest, rinse the rafts but keep them wet, and put them straight back on the canal.
What you need for a small raft system
Aeration, planting cups, seedling plugs and a way to read the water. The tank, canal and polystyrene are the parts you size to your own space.
-
1Air pump
Pawfly 254 GPH Aquarium Air Pump
A multi-port pump the maker lists for ponds and DWC systems up to 300 gallons, so one pump can feed several air stones.
-
2Air stones
VIVOSUN 2PCS 4 x 2 in Large Air Stone
Two large stones in a pack, enough to start aerating the canal and fish tank. Add more as the canal grows to meet FAO’s spacing.
-
3Net pots
Cz Garden 3 Inch Net Pots, 25 Pack
Wide-rim slotted pots for DWC. Cut your raft holes to fit the rim so the pots sit without slipping through.
-
4Smaller net cup set
ORIMERC 12 Pack 3 inch Net Cups
A 12 pack of 3 inch slotted cups that comes with wicks, handy for testing a single raft board before buying a bigger set.
-
5Seedling plugs
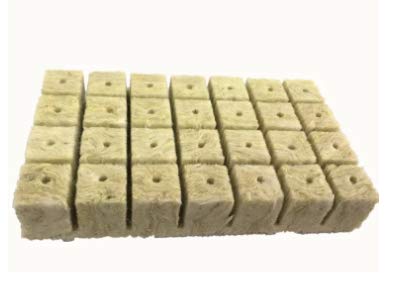
Starter cubes to germinate seeds, then drop each one into a net cup, as FAO describes.
-
6Water test kit
API Freshwater Master Test Kit
Tests pH, ammonia, nitrite and nitrate, the four readings you need while cycling a new raft system.



Aquaponic NFT
In an aquaponics NFT system, a shallow stream of fish water runs along the bottom of sloped pipes, and plants sit in holes along the top with their roots in the stream. FAO says the shallow film gives the roots oxygen along with moisture and nutrients. NFT is light, uses the smallest water volume of the three methods, and FAO ranks it the best method for rooftops, with very simple harvesting. NFT pipes can also be arranged vertically on walls and fences, which makes them popular for towers; see our aquaponics tower guide.
Channel Size and Slope
FAO recommends pipes that are wider than they are tall where possible, because a wider film of water touches more roots. Pipe diameter depends on the crop: 7.5 cm (3 inches) is enough for fast-growing leafy greens and small vegetables, while 11 cm (about 4.3 inches) is needed for larger fruiting vegetables and for mixed planting. Pipe length can run from 1 to 12 m (3 to 40 feet); beyond that, plants at the end of the pipe suffer nutrient deficiencies because earlier plants have used the nutrients. Slope the pipe about 1 cm per meter of length (roughly 1/8 inch per foot), using shims on the end away from the fish tank. Each pipe should get 1 to 2 liters of water per minute. Plant holes need at least 21 cm (about 8 inches) between centers, and white PVC keeps the inside cooler.
What Grows in NFT
NFT is built for leafy greens and herbs. Bigger plants can work, but FAO says tomatoes and mint have root masses that can clog even large pipes, and fruiting plants need larger, flat-bottomed pipes spaced farther apart because of limited root space. FAO also warns that wilting in fruiting plants can happen almost immediately if flow is disrupted. If you want tomatoes, a raft or a media bed is the safer choice. See the best plants for aquaponics for crop-by-crop picks.
Why NFT Needs Clean Water
FAO says low water volume magnifies water quality problems, so a pump failure or an ammonia spike hits NFT harder than a deep canal. NFT also needs the same dedicated filtration as rafts, and FAO lists the pump and air pump as mandatory and the inlet pipes as prone to clogging. Without water movement, FAO says, NFT systems dry out. Keep a spare pump on hand.
You also cannot seed directly into an NFT pipe the way you can in a media bed. Seedlings go in with a net cup, and FAO advises watering them with aquaponic water for a week before transplanting to reduce shock.
Media Bed Aquaponics
In a media bed, plants grow in gravel or clay media that fills a bed and is flooded with fish water. FAO describes it as the simple and forgiving design,. The media does three jobs at once: it filters solids, hosts the nitrifying bacteria, and supports the roots, so you do not need separate filters. FAO says the bed should be about 30 cm (12 inches) deep for large fruiting vegetables such as tomatoes, okra or cabbage, and it lists “all types of plants can be grown” among the strengths.
The costs are weight and the media itself. FAO lists “very heavy, depending on choice of media” and “media can be expensive” among its weaknesses, and notes that transplanting is more labor-intensive because the media has to be moved. Media beds also lose more water to evaporation than NFT or DWC. For the depth, flood-and-drain cycles and media choices, read our full aquaponics grow bed guide, and for the classic self-draining bed see the bell siphon page.
Which Method Should You Choose?
There is no single best answer, because each method trades simplicity against scale. Use these profiles as a starting point.
If You Are New to Aquaponics
Start with a media bed. FAO calls it simple and forgiving, and it requires no extra filters. You can grow almost anything in it, which lets you learn which crops and fish fit your space before you commit to a build. If you would rather buy a ready-made unit, compare the aquaponics kits.
If You Want Lots of Lettuce, Basil and Herbs
Choose a raft system. FAO describes DWC as the most common method in large commercial aquaponics for lettuce, salad leaves or basil, and it is suited to mechanization. The large water volume smooths out mistakes, and the boards make planting and harvest quick. You will need to build the filters and plan the aeration.
If You Are Short on Space or Weight
Choose NFT. It is the lightest of the three, needs the least water, and the pipes can stack vertically or sit on a rooftop. Plan for separate filtration, a reliable pump and a backup, and keep the crops small.
If You Want to Grow Tomatoes and Peppers
Choose a media bed, or a raft if you can support the plants. FAO recommends media beds and DWC for tomatoes, adds that physical support is necessary, and warns that tall plants are harder to support on a raft. It also advises planning the number of tomato plants around fish biomass, because tomatoes need a lot of potassium.
Next, size your aquaponics pump, pick the right plants, or follow the full plan to build an aquaponics system.
Aquaponic Raft System FAQ
Grow along with us
New guides and seasonal tips for fish, plants and DIY builds, about once a month.