Hydroponics
DIY Hydroponic System: 5 Builds, From a Bucket to NFT
As an Amazon Associate we earn from qualifying purchases. How we choose products.
On this page
- Which DIY Hydroponic System Should You Build?
- Build 1: The Kratky Bucket (No Power)
- Build 2: A DWC Hydroponic System in a 5-Gallon Bucket
- Build 3: A Floating Raft Bed for Lots of Lettuce
- Build 4: An NFT Hydroponic System From PVC
- Build 5: Ebb and Flow and Drip Systems
- DIY or Buy a Kit?
- Common DIY Hydroponics Mistakes
A DIY hydroponic system can be as simple as a lidded bucket or as involved as a rack of PVC channels with a pump and timer. All of them do the same job: hold plants so their roots reach a nutrient solution, and keep those roots supplied with oxygen. What changes is how the oxygen gets there, and that decides the build.
This guide covers five homemade designs, in order of difficulty, with parts lists and the numbers that matter from university extension guides. If you are still deciding whether hydroponics is right for you, our guide to choosing a hydroponic system for beginners compares the options first.
Which DIY Hydroponic System Should You Build?
| Build | Power | Skill | Best crops | Cost tier |
|---|---|---|---|---|
| Kratky bucket | None | Easiest | Lettuce, herbs, greens | $ |
| DWC bucket | Air pump | Easy | Greens, herbs, one or two larger plants | $ |
| Floating raft bed | None or air pump | Easy, needs space | Lots of lettuce | $ |
| NFT channels | Water pump, running constantly | Moderate | Lettuce, herbs, strawberries | $$ |
| Ebb and flow or drip | Water pump and timer | Moderate | Fruiting crops in media | $$ |
For a first build, start with a bucket. It teaches you pH, EC and plant care for little money, and the parts carry over to every larger system.
Build 1: The Kratky Bucket (No Power)
The simplest homemade hydroponic system has no moving parts. A food grade bucket is filled once with nutrient solution, seedlings sit in net cups in the lid with their base touching the liquid, and the plants drink the level down, leaving an air gap where the upper roots breathe. UF/IFAS describes it as a non-circulating method that needs no electricity and can grow a whole lettuce crop on the first fill.
Because it is a method with its own rules (never refill over the roots, allow about 1 to 1.5 gallons per lettuce), we cover it fully in our Kratky method guide. Build it first if you want lettuce with the least effort.
Build 2: A DWC Hydroponic System in a 5-Gallon Bucket
A deep water culture (DWC) hydroponic system keeps roots submerged in nutrient solution and pumps air through it with an aquarium air pump and air stone. Because the solution is oxygenated, you can top it up and keep it at a constant level, which makes DWC better than Kratky for bigger plants, longer crops and warm rooms.
DWC Parts List
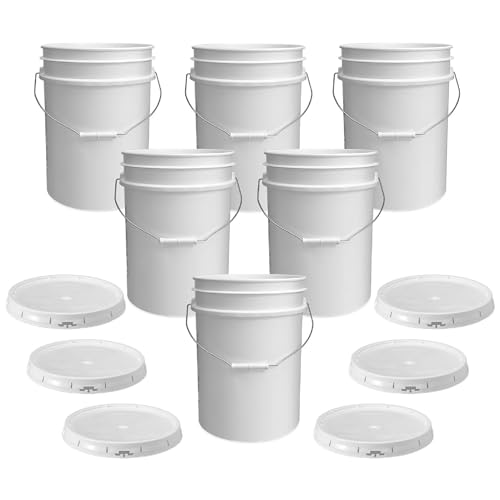
- Food grade 5-gallon bucket with lid, opaque or painted.
- Three 3-inch net cups for leafy crops, or a single wide basket lid for one large plant.
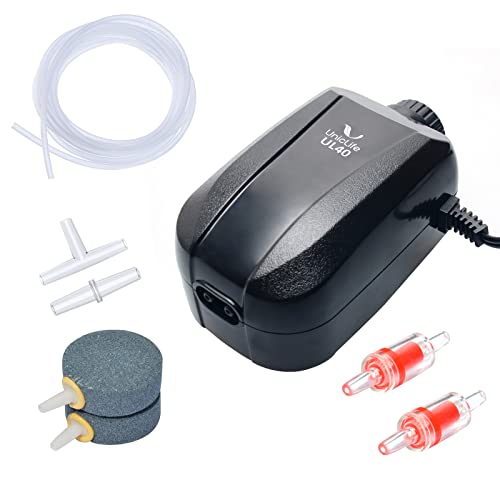
- Air pump, airline tubing, a check valve and an air stone.
- Grow cubes for seeds and an inert medium such as clay pebbles to hold the plant in the cup.
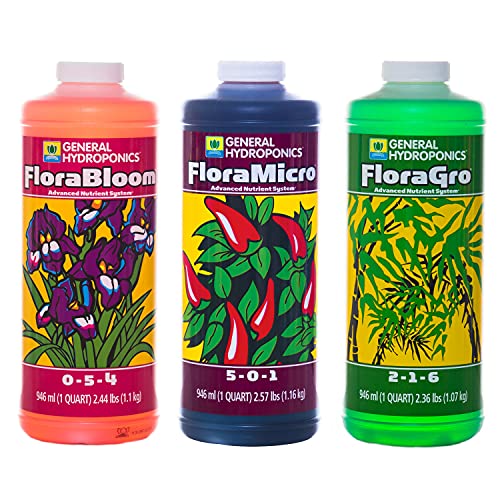
- Hydroponic nutrients, a pH test kit and an EC or TDS meter.
- A hole saw the size of your cups, and a small drill bit for the airline.
Parts for a DWC bucket
-
1Bucket and lid
ePackageSupply 5 Gallon Food Grade Buckets with Lids
BPA-free HDPE pails listed as FDA compliant for food contact, in a six pack for several buckets.
-
2Net cups
Heavy duty 3 inch cups with a wide rim, sold for DWC and Kratky openings.
-
3Air pump
Uniclife 64 GPH Dual Outlet Air Pump
Two adjustable outlets, so one pump can run two buckets; comes with tubing, two check valves and air stones.
-
4Air stone
Large cylinder stones for fine bubbles; the maker suggests a 4 to 8 W pump.
-
5Nutrients
General Hydroponics Flora Series 3-Part Set
Three liquid parts (Micro, Gro, Bloom) that you mix in different ratios for leafy or fruiting growth.
-
6pH control
General Hydroponics pH Control Kit
pH up, pH down and a liquid test indicator in one kit.
-
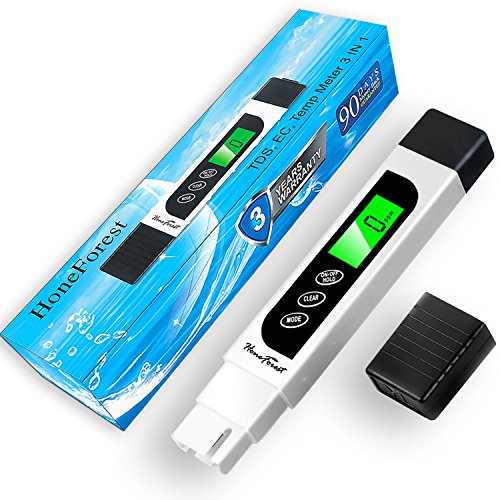
7Strength meter
Reads TDS, EC and temperature for checking and topping up the solution.



How to Build a DWC Bucket
- Cut the lid. Mark and cut three holes for 3-inch net cups, spaced evenly. Drill a small hole near the rim for the airline.
- Fit the air line. Run tubing from the pump through the check valve and the lid hole to the air stone on the bucket floor. Keep the pump above the water line or rely on the check valve so water cannot siphon back into it.
- Mix the solution. Fill to a couple of inches below the lid, add nutrients to the label rate or your target EC, then adjust pH to about 5.5 to 6.5.
- Plant. Set seedlings in grow cubes into the cups, packed with clay pebbles. At first the solution should touch the bottom of the cups; once roots hang down, you can drop the level an inch or two to leave an air space.
- Run the pump around the clock. Check pH and EC every few days and top up with plain water or weak solution.
How Much Air Does DWC Need?
Roots in still water use up oxygen quickly. The Cornell CEA Hydroponic Lettuce Handbook says lettuce grows satisfactorily at dissolved oxygen of at least 4 ppm, that commercial ponds are usually kept around 8 ppm, and that with no oxygen added the level drops to nearly zero, which stops root respiration and can kill the plant. For small systems, the handbook notes, an air pump and an aquarium air stone are a workable way to add air, even if they cannot match pure oxygen. In practice that means one good air stone per bucket, running all the time, and replacing stones when they clog.
Keeping the Solution in Range
Two readings tell you everything. EC (or TDS) measures nutrient strength; pH decides whether plants can take those nutrients up. The Cornell handbook explains how they move: as plants take up nutrients, EC falls, and as water evaporates or transpires, EC rises. If EC climbs, add plain water; if it drops, add a little concentrated nutrient. Always subtract the EC of your tap water from the reading. For lettuce, UF/IFAS targets an EC of about 1,250 µS/cm (about 800 ppm on a typical TDS meter) and pH 5.5 to 6.0 in UF/IFAS HS1488.
Build 3: A Floating Raft Bed for Lots of Lettuce
If you want a steady supply of salad, a shallow raft bed grows far more lettuce than a bucket. The University of Florida's Building a Floating Hydroponic Garden (UF/IFAS HS943) gives a complete homemade design:
- A frame of 2 by 6 or 2 by 8 inch treated lumber, 4 feet 1 inch by 8 feet 1 inch, so a standard 4 by 8 foot foam board fits without trimming.
- A 6 mil polyethylene sheet as a liner, on a level site cleared of anything that could puncture it.
- A 1.5 inch thick sheet of foam insulation board as the floating raft, with holes for the plants.
- Water to a depth of at least five inches, keeping track of the gallons added.
- 1 to 2 level teaspoons of a water-soluble fertilizer with micronutrients (such as 20-20-20) per gallon, plus half to one teaspoon of Epsom salt per gallon.
UF/IFAS estimated the materials at about 50 dollars when the guide was written. Their recipe assumes Florida's calcium-rich water; with soft water, use a hydroponic fertilizer that includes calcium. The final pH is generally between 5.5 and 6.5, and household vinegar can bring it down if needed.
Build 4: An NFT Hydroponic System From PVC
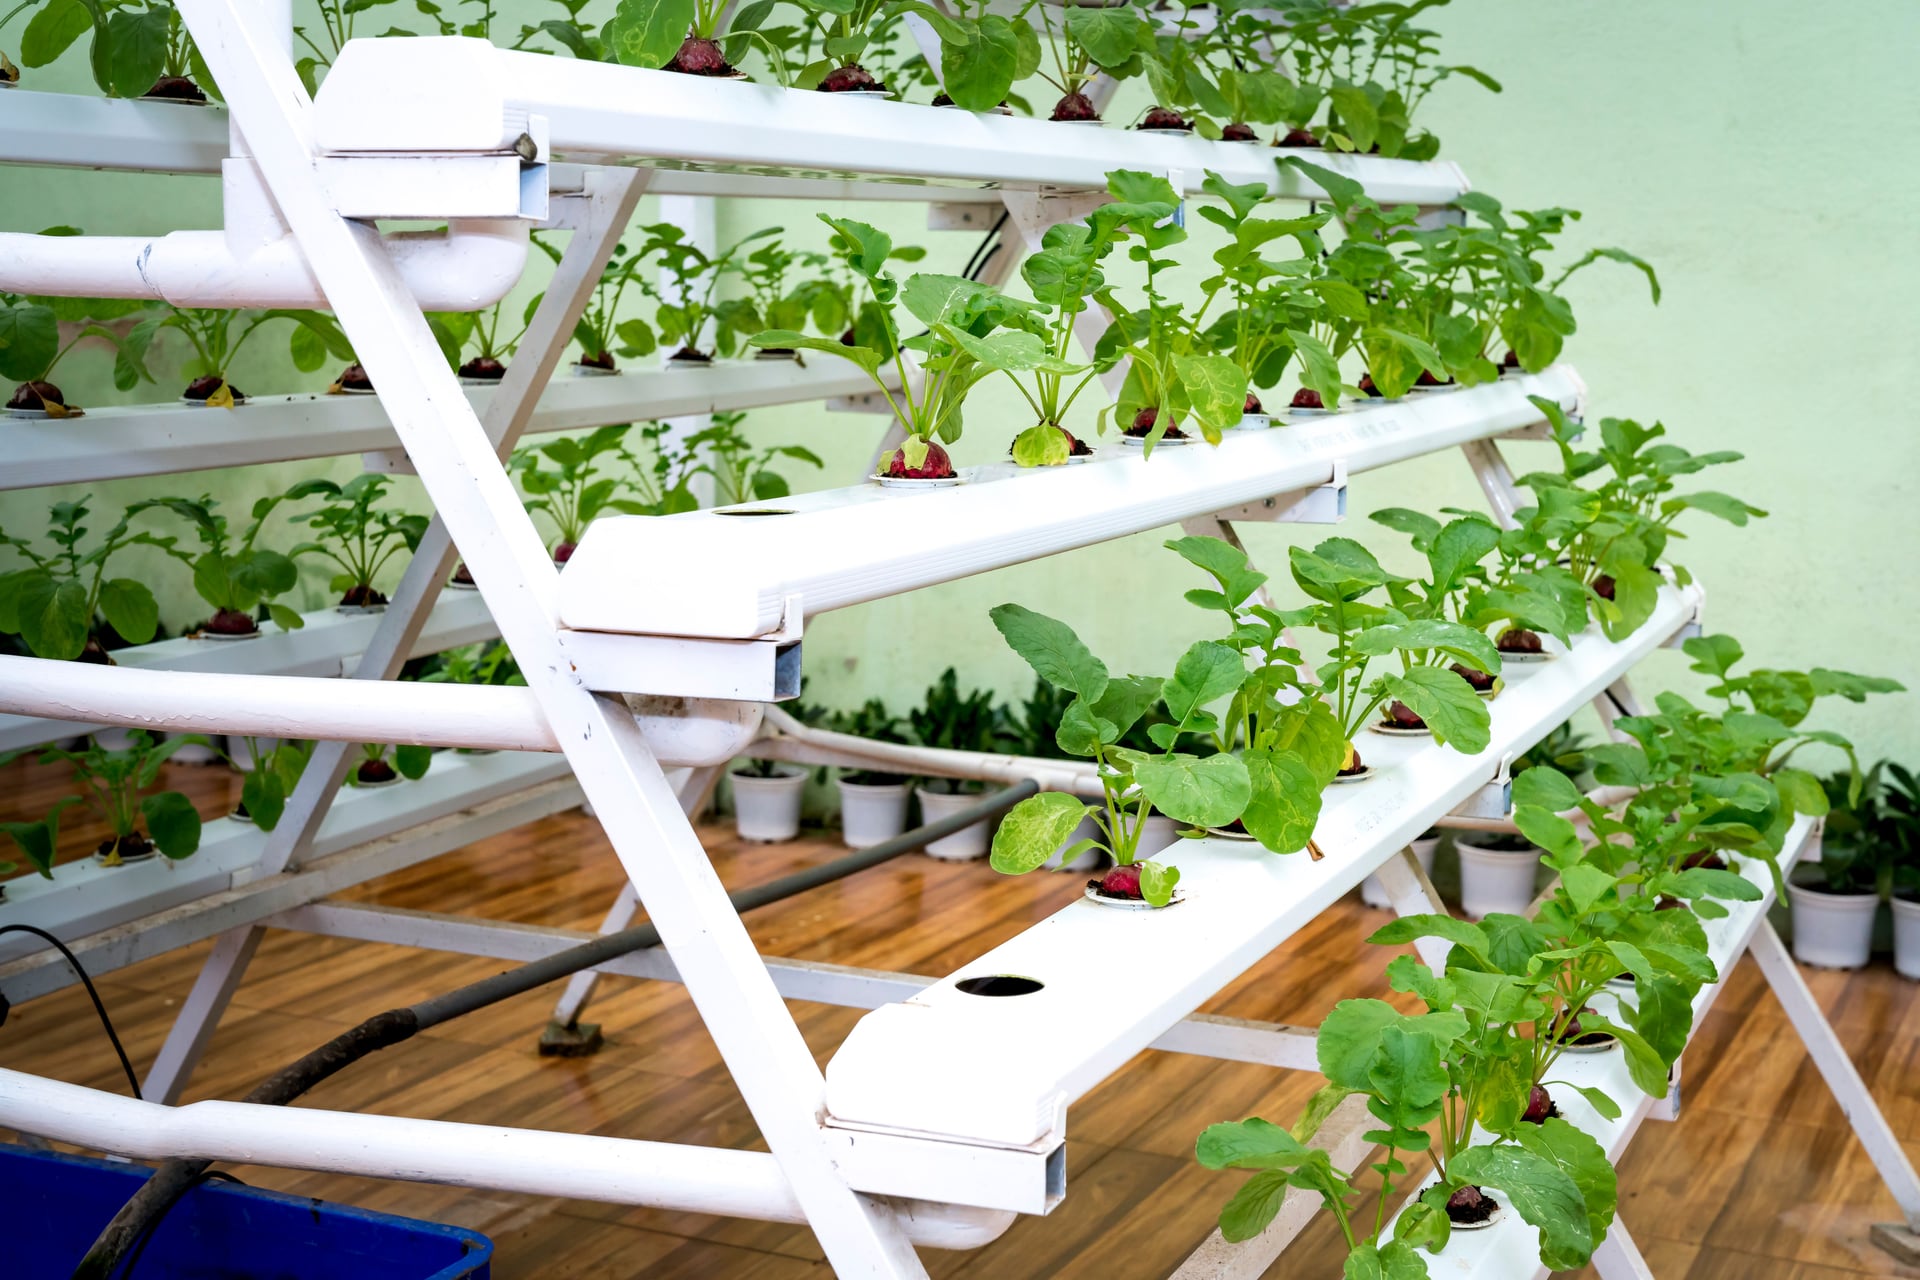
An NFT hydroponic system (nutrient film technique) runs a thin stream of solution along channels, past roots that sit in the film with no growing medium. Growing Lettuce in Small Hydroponic Systems (UF/IFAS HS1422) describes NFT as a water culture technique with the solution recirculating between PVC pipes and a holding tank, and notes home growers can buy a prefabricated system or build their own, adding timers and lights as needed.
How to Lay Out NFT Channels
- Channel size. The UF/IFAS aquaponics guide UF/IFAS HS1252 notes many NFT systems use troughs about 4 inches wide by 2 inches deep, which only suit small-rooted crops like lettuce; larger plants need roughly 18 by 4 inch channels.
- Slope. Set channels on a slight, even fall toward the return end so the film keeps moving and drains completely.
- Reservoir and pump. A submersible pump in a covered reservoir feeds the high end of each channel; the low ends drain back by gravity.
- Plant holes. Cut holes for 2 or 3 inch net cups along the top of each pipe.
NFT Weak Points
The film is thin, so roots have almost no reserve of water. If the pump stops, they start drying out quickly. Dense root mats can also block the flow; SRAC 454 warns that roots and organic matter in NFT channels can create low-oxygen zones. Check the flow daily and keep long-season crops out of narrow channels.
Build 5: Ebb and Flow and Drip Systems
Both use a growing medium in containers and a pump on a timer. In ebb and flow, a tray of pots is flooded and then drained back to the reservoir. The Cornell handbook describes its seedling benches being flooded 2 to 4 times a day for about 15 minutes. In a drip system, emitters deliver solution to each pot. UF/IFAS HS1422 notes drip can be open (runoff not reused) or recirculating, and warns that emitters can clog with hard water, so check every plant gets an even flow.
These systems suit fruiting crops such as tomatoes and peppers, which like a well-drained root zone. They take more plumbing than a bucket, so build one once you are comfortable with pH and EC.
DIY or Buy a Kit?
Building from parts is cheaper per bucket, but a kit saves sourcing a matching lid, pump and fittings. These are two widely bought single-bucket DWC kits on Amazon. Picks are based on the manufacturers' listings and how widely each is bought; we have not tested them.
| DWC option | PowerGrow Systems DWC Bucket Kit Most complete | Hydrofarm Root Spa 5 Gallon |
|---|---|---|
| Product | 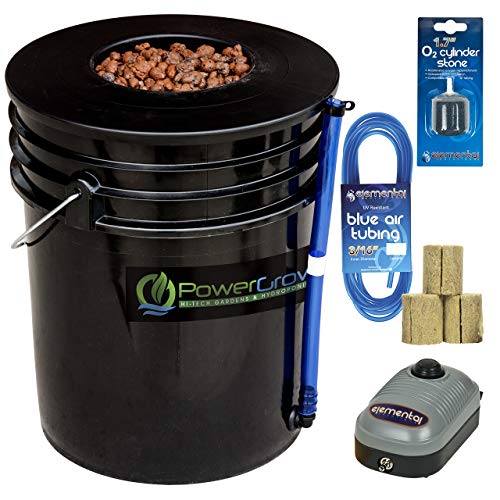 | 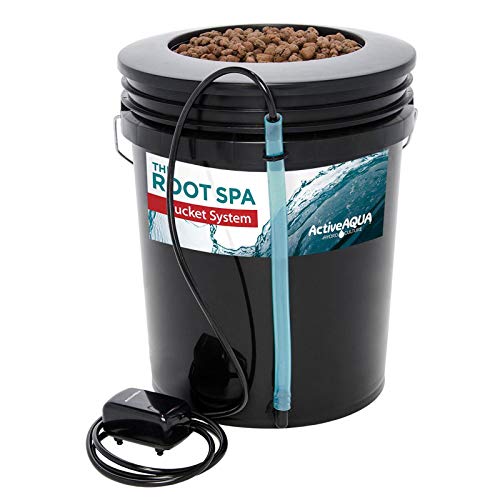 |
| In the box | 5 gallon HDPE bucket, 6 inch basket lid, air pump, tubing, air stone, growing medium, rockwool starter plugs | 5 gallon bucket, 8 inch basket, air pump, air hose and fittings; clay pebbles sold separately |
| Extras | Water level indicator and drain | Grommet and elbow fittings |
| Best for | A first bucket with nothing else to buy but nutrients | One large plant, or growers who have media already |
| Price tier | $ | $ |
| Buy | Check price | Check price |
Most complete
PowerGrow Systems DWC Bucket Kit
- In the box
- 5 gallon HDPE bucket, 6 inch basket lid, air pump, tubing, air stone, growing medium, rockwool starter plugs
- Extras
- Water level indicator and drain
- Best for
- A first bucket with nothing else to buy but nutrients
- Price tier
- $
Hydrofarm Root Spa 5 Gallon
- In the box
- 5 gallon bucket, 8 inch basket, air pump, air hose and fittings; clay pebbles sold separately
- Extras
- Grommet and elbow fittings
- Best for
- One large plant, or growers who have media already
- Price tier
- $
Common DIY Hydroponics Mistakes
Using the Wrong Container
Use food grade plastic. Containers that held chemicals, or plastics of unknown origin, can leach into the solution. Clear containers let light in and grow algae; paint or wrap them.
Ignoring pH and EC
Most nutrient problems in homemade systems are really pH problems, because nutrients become unavailable outside the plant's range. Check both readings when you set up, then every few days.
Crowding the Lid
Three lettuces per 5-gallon bucket is plenty. More plants means less solution per plant and more frequent top-ups.
No Backup for the Pump
DWC and NFT depend on electricity. Keep a spare air stone and tubing, and check the pump daily. In NFT, a stopped pump is an emergency.
Grow along with us
New guides and seasonal tips for fish, plants and DIY builds, about once a month.