Hydroponics
The Kratky Method: Passive Hydroponics Without a Pump
As an Amazon Associate we earn from qualifying purchases. How we choose products.
On this page
- What Is the Kratky Method?
- What You Need for a Kratky Bucket
- How to Set Up a Kratky Bucket, Step by Step
- How Much Solution Does Each Plant Need?
- Which Containers Work for Kratky?
- What Plants Grow Best With the Kratky Method?
- How Long Until Harvest?
- Kratky Problems and How to Fix Them
- Kratky vs Deep Water Culture
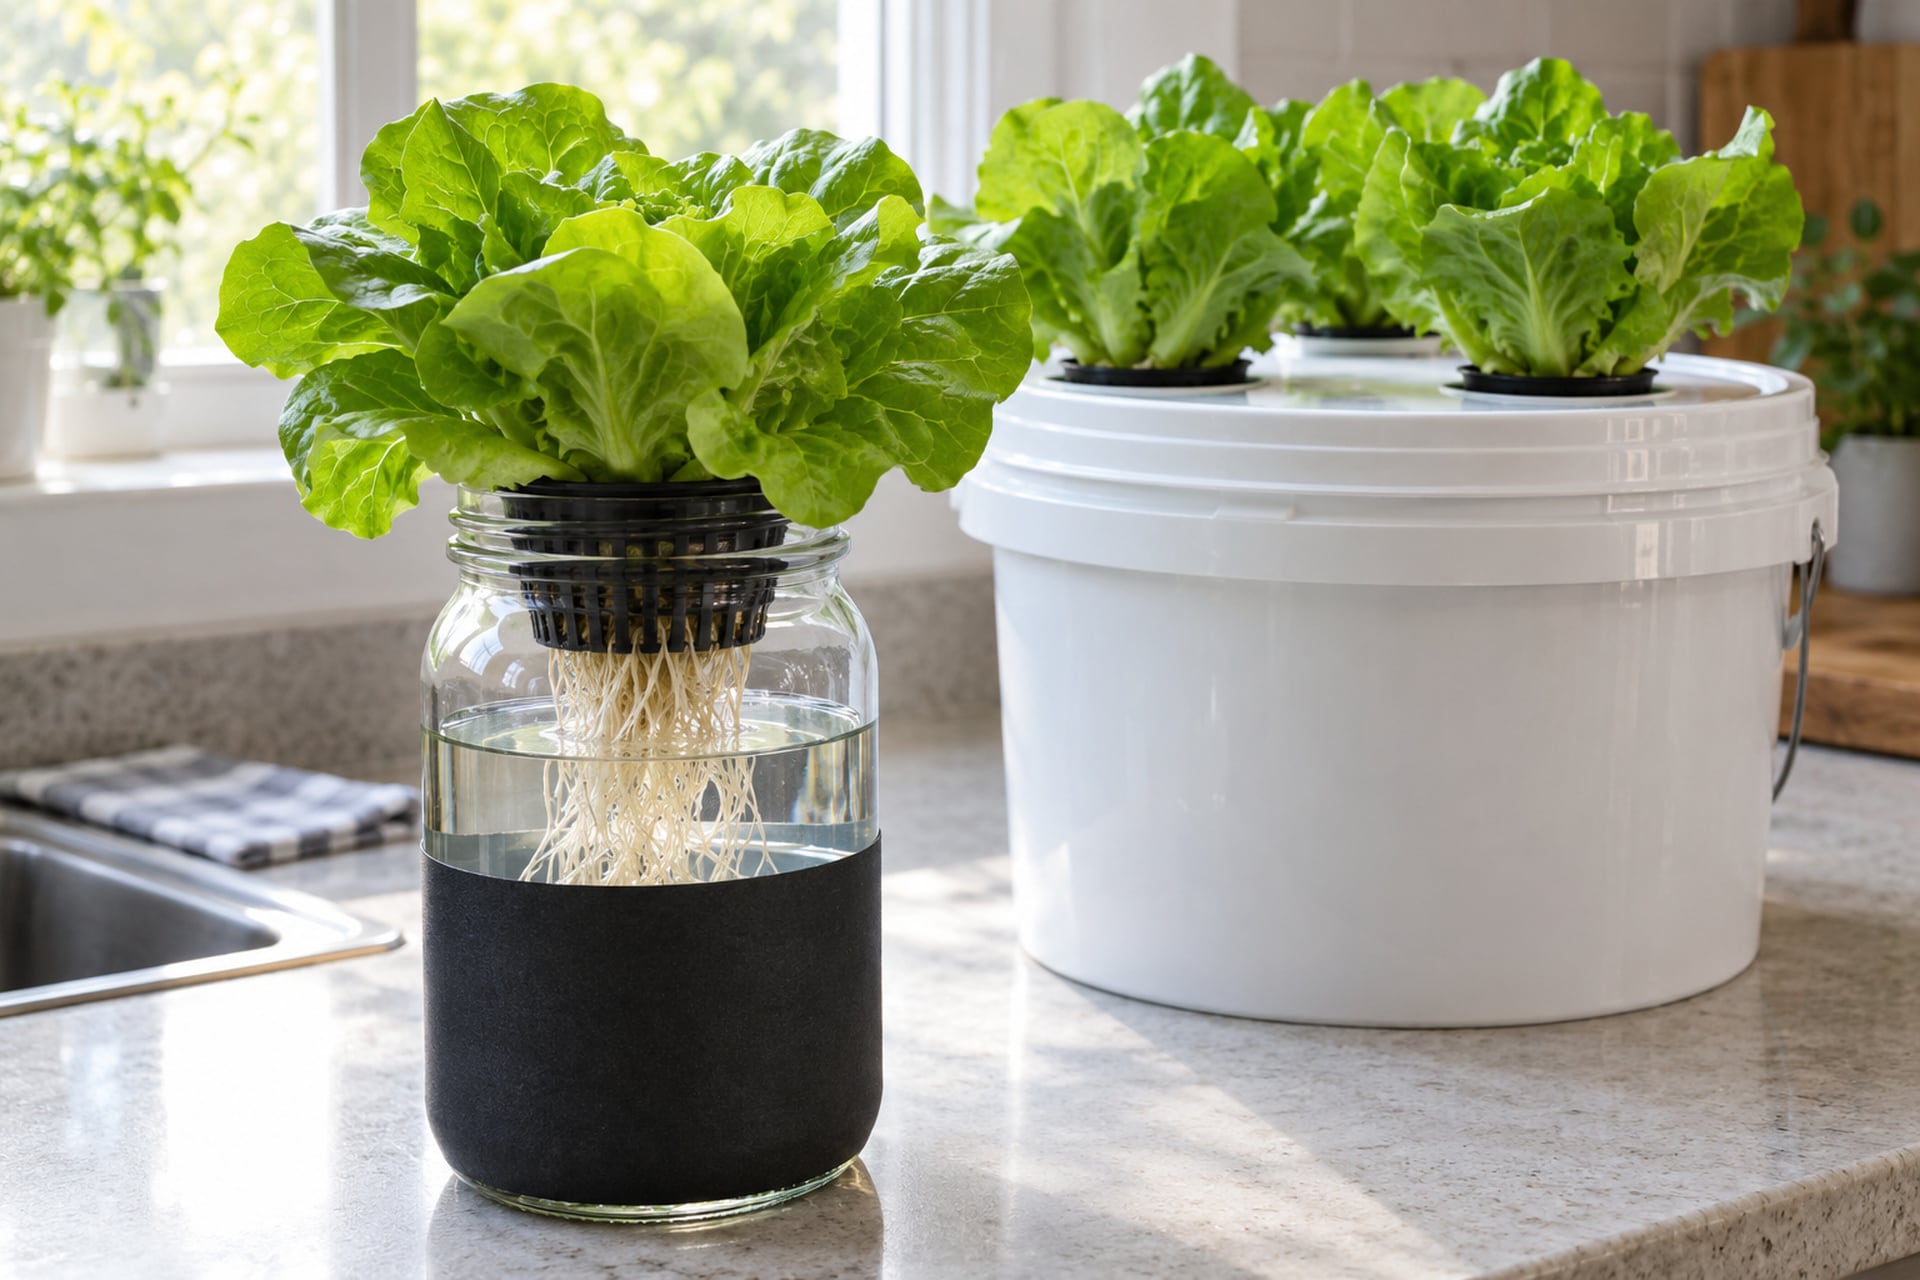
The Kratky method is the simplest way to grow vegetables hydroponically. You fill a covered container with nutrient solution once, set a seedling in a net cup so its base touches the liquid, and leave it. No pump, no air stone, no electricity. As the plant drinks, the level falls and an air gap opens under the lid, where the upper roots breathe while the lower roots keep drinking.
The method is named after Dr. Bernard Kratky, a horticulturist at the University of Hawaii, who published it and patented it. Below we go through how it works, using his own papers and a recent University of Florida extension guide, then set up a 5-gallon bucket step by step.
What Is the Kratky Method?
The Kratky method is a non-circulating hydroponic method. Kratky calls it the suspended pot, non-circulating method: a seedling in a perforated pot is supported by the cover of a tank of nutrient solution, and the entire crop is grown with only the initial application of water and nutrients. In A Suspended Pot, Non-Circulating Hydroponic Method (Kratky, 2004) he explains that electricity and pumps are not needed, and that the technique holds two US patents (5,385,589 and 5,533,299).
Its appeal is the lack of moving parts. In Three Non-circulating Hydroponic Methods for Growing Lettuce (Kratky, 2009) Kratky points out that the costs and complications of aeration and circulation in conventional hydroponics are avoided entirely, and that nothing needs doing between transplanting and harvest. That is why the University of Florida's "Set It and Forget It" Hydroponic Lettuce (UF/IFAS HS1488, 2025) recommends it for novice gardeners, teachers and anyone who wants to test hydroponics before investing.
Why the Roots Do Not Drown
Plant roots need oxygen, which is why most hydroponic systems bubble air through the water. Kratky solves it with space instead of an air pump. As the plant grows, it drinks the solution and the level drops below the net cup. The roots that grow into this widening, humid space between the lid and the liquid become what Kratky calls oxygen roots: they branch heavily and their main job is aeration. The roots that reach down into the solution are the water and nutrient roots.
The One Rule: Never Raise the Level
Kratky lists four basic concepts for non-circulating systems: the upper roots must sit in humid air, roots must never dry out, the lower roots gather water and nutrients, and the solution level may stay the same or fall, but must not rise. If you top up after the air gap has formed, you submerge the oxygen roots and, in his words, the roots "drown". Rain getting into an outdoor tank can do the same damage, so keep lids tight.
What You Need for a Kratky Bucket
The UF/IFAS bucket method uses a short shopping list. Everything below is cheap and reusable except the nutrients and grow cubes.
- A food grade 5-gallon bucket with a lid (opaque, to keep out light).
- 2-inch net cups and a 2-inch hole saw (3-inch cups for bigger plants).
- Rockwool or similar grow cubes for starting seeds.
- A hydroponic fertilizer for leafy growth.
- pH test strips or a meter, and pH down (white distilled vinegar works).
- Optional: an EC or TDS meter to measure nutrient strength.
A Kratky bucket shopping list
-
1Container
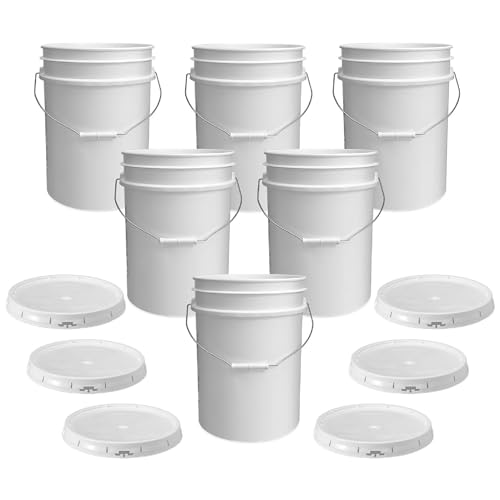
ePackageSupply 5 Gallon Food Grade Buckets with Lids
BPA-free, food contact HDPE pails with lids, sold as a six pack so you can run several buckets in a row.
-
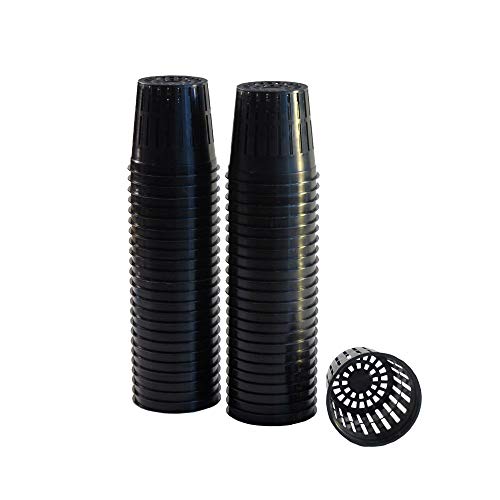
22 inch net cups
Slotted 2 inch cups made to fit a 2 inch hole, the size the UF/IFAS lettuce bucket uses.
-
33 inch net cups
Heavier wide-rim cups that the maker lists for DWC, Kratky and wide-mouth mason jars.
-
4Seed starting
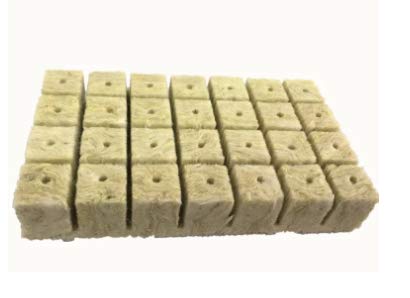
1.5 inch Rockwool Starter Cubes
Pre-drilled stonewool cubes for germinating seeds before they go into the cups.
-
5Nutrients
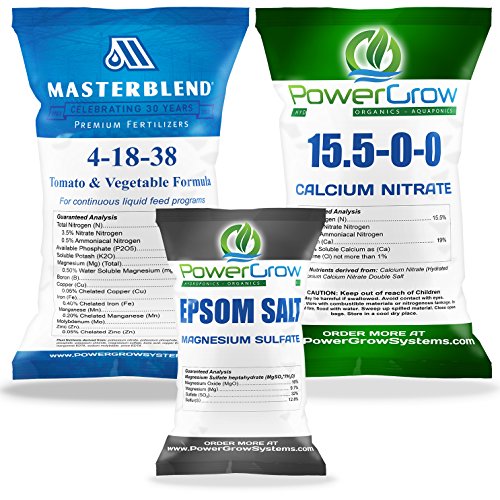
MasterBlend 4-18-38 Complete Combo Kit
The three-part dry mix (4-18-38, calcium nitrate and Epsom salt) many hydroponic growers use, packed in the right proportions.
-
6pH testing and adjusting
General Hydroponics pH Control Kit
pH up, pH down, test indicator, test tube and color chart in one box.
-
7Nutrient strength
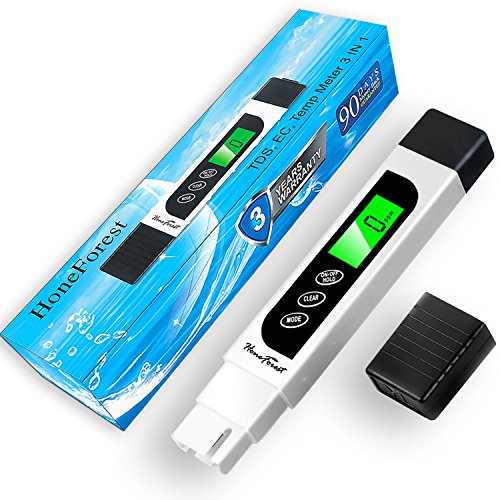
Pen meter that reads TDS, EC and temperature, enough to hit a target strength.


How to Set Up a Kratky Bucket, Step by Step
These steps follow the UF/IFAS HS1488 lettuce method, with details from Kratky's papers where they add something useful.
- Start seeds. Soak grow cubes until saturated, sow one or two seeds per cube, and keep them covered and humid. Seedlings are ready to move in one to three weeks.
- Drill the lid. Trace a net cup in three places on the lid and cut 2-inch holes. Three lettuces per 5-gallon bucket is the UF/IFAS layout; Kratky grew 3 or 4 in a 20-liter bucket.
- Choose the spot first. A full bucket is heavy and hard to move. Outdoors, pick a sunny place in your lettuce season; indoors, use grow lights.
- Fill with water. Fill almost to the top, leaving about an inch of space, so the water reaches about halfway up the net cups.
- Add nutrients. Follow the label, which UF/IFAS notes is typically about 1 teaspoon per gallon for liquid products, or measure to the target strength below.
- Adjust pH. Bring it to about 5.5 to 6.0. UF/IFAS uses white distilled vinegar, typically about 2 teaspoons per gallon depending on your water.
- Plant. Put the lid on, set a seedling in each cup, and check that the cube touches the solution.
- Leave it. Do not top up. Harvest when the heads are ready.
Mixing the Nutrient Solution
Use a complete hydroponic fertilizer, not ordinary garden plant food alone. UF/IFAS points out that hydroponic formulations contain extra nutrients not usually found in soil fertilizers, and suggests one made for leafy or vegetative growth. Liquid, granular or two-part products all work.
For strength, HS1488 targets an EC of about 1,250 µS/cm, which is a TDS reading of about 800 ppm on a typical meter. Kratky's own lettuce tanks ran at about 1.5 mS/cm, and his cucumber containers at 2.0 to 2.5 mS/cm. If you have no meter, the label rate is a safe start.
For pH, lettuce does well at 5.5 to 6.0. Kratky reports that in his Hawaii trials whole crops were usually completed without adjusting pH at all, using commercial hydroponic fertilizers and good water. If pH does drift too low, he used dolomite in a nylon stocking; if too high, ammonium sulfate.
Simpler nutrient options
-
1One-part powder
A single dry fertilizer for vegetative growth: one product to measure instead of three, which suits leafy Kratky crops.

Setting the Starting Level
At transplanting, only the bottom of the net cup needs to sit in the solution. The growing medium wicks the liquid up by capillary action and keeps the young plant watered until its roots reach down. Kratky's figures: the lower 3 cm (just over an inch) of the net pot immersed in his 4-liter bottles, and the lower 1 to 2 cm in his lettuce tanks. If the medium in a cup stays dry, add a little water to the cup itself, not to the tank.
How Much Solution Does Each Plant Need?
Because you only fill once, the container has to hold enough solution for the whole crop. This is the most important number in Kratky growing.
| Crop | Solution needed | Container that works | Source |
|---|---|---|---|
| One lettuce (about 200 g) | 3 to 4 liters (about 1 gallon) | 4-liter bottle or large jar | Kratky 2004, 2009 |
| Lettuce, typical range | 3 to 6 liters per plant | Tank with 4 to 8 liters per plant | Kratky 2009 |
| Lettuce, home bucket | 1 to 1.5 gallons per plant | 5-gallon bucket for 3 plants | UF/IFAS HS1488 |
| Cucumber | Most of a large container | One plant per 100 to 130 liter trash container | Kratky 2004 |
| Tomato | 25 to 40 liters per kg of fruit | A very large tank | Kratky 2004 |
The crop is finished when less than about 10 percent of the starting solution remains, according to Kratky. Wider containers are better than taller ones, UF/IFAS adds, so the roots can reach the water as the level falls.
Which Containers Work for Kratky?
Jars and Bottles
The smallest version is a single plant in a 4-liter bottle or a wide-mouth jar, with the net cup held by the neck. It is only suitable for crops that use less than 4 liters in their life, like lettuce. Darken or wrap clear containers: Kratky says bottles should be covered or darkened to discourage algae.
Buckets and Totes
A 5-gallon bucket is the easiest container for a first try, holding three or four lettuces. Kratky also grew 6 to 8 lettuce plants in a plastic storage container or an ice chest. Opaque, food grade plastic with a lid that fits tightly is ideal.
Larger Tanks and Rafts
For more plants, Kratky built shallow lined tanks covered with polystyrene boards, with lettuce at 20 by 30 cm spacing. In a float-support version, the board floats at first and then settles onto pipes as the level drops, which keeps the air gap. When the board floated freely with no air space, his yields fell by up to 23 percent, a good reminder that the gap matters.
What Plants Grow Best With the Kratky Method?
Short, leafy crops do best, because they finish before the solution runs out. Kratky's papers focus on leaf and semi-head lettuce and mention kai choy and herbs. UF/IFAS shows Salanova green butter lettuce, baby bok choy and Cherokee summer crisp lettuce grown in buckets, and suggests other short-cycle, low-profile plants. Basil, parsley, mint and green onions are popular choices for the same reason.
Fruiting crops are possible but harder. Kratky grew cucumbers in large trash containers, and tomatoes in a 757-liter tank, but called the tomato version "an academic curiosity" for most purposes because of the size of tank needed. UF/IFAS similarly notes that other hydroponic techniques suit flowering and fruiting crops better.
How Long Until Harvest?
Expect leaf and semi-head lettuce about 6 to 7 weeks after seeding in a bottle, according to Kratky, or about 5 weeks after transplanting in his tanks. In the UF/IFAS bucket, seedlings that are two to three weeks old grow outside for about another three or four weeks before harvest in the Florida cool season. Harvest with scissors at the base, then clean the cups and start again.
Between crops, Kratky notes some growers simply top off the remaining solution with fresh nutrient solution, while others drain and refill. As a rule, he recommends draining and refilling after every three crops or sooner.
Kratky Problems and How to Fix Them
Wilting After Topping Up
The classic beginner mistake. Adding water above the roots after the air gap forms submerges the oxygen roots. If you must add solution late in a crop, add only a little and keep the level well below the cup.
Algae
Algae need light. Use opaque containers, cover clear jars, and keep cup holes filled by plants or plugs.
Mosquitoes
Standing solution can breed mosquitoes outdoors. Kratky recommends lids that fit snugly around the cups and, where needed, Bacillus thuringiensis israelensis (Bti) products.
Tipburn and Salty Water
Salts in your water concentrate as the plant drinks. Kratky's example: water starting at EC 0.5 mS/cm from contaminants can reach 2.0 mS/cm when a quarter of the solution remains, which can cause tipburn. With hard or salty tap water, use rainwater or filtered water, a deeper container, or empty the container after each crop.
Slow Growth in Hot Weather
The method has no aeration, and warm water holds less oxygen. Keep containers out of direct afternoon sun, grow in your cool season as UF/IFAS advises for lettuce, and choose heat-tolerant varieties in summer.
Kratky vs Deep Water Culture
Deep water culture (DWC) looks similar: plants in net cups over a bucket of solution. The difference is an air pump and air stone that keep the water oxygenated, so the level can be kept constant and topped up, and larger, longer crops become practical. Kratky is cheaper and silent; DWC is more forgiving of big plants and hot weather. If you want to build one, our DIY hydroponic system guide covers the DWC bucket, and choosing a hydroponic system for beginners compares all the options. And if one day you want fish to supply the nutrients instead of a bag of fertilizer, read aquaponics vs hydroponics first.
Grow along with us
New guides and seasonal tips for fish, plants and DIY builds, about once a month.