Hydroponics guide
Aeroponic Tower: How It Works, a DIY Build and What to Buy
As an Amazon Associate we earn from qualifying purchases. How we choose products.
On this page
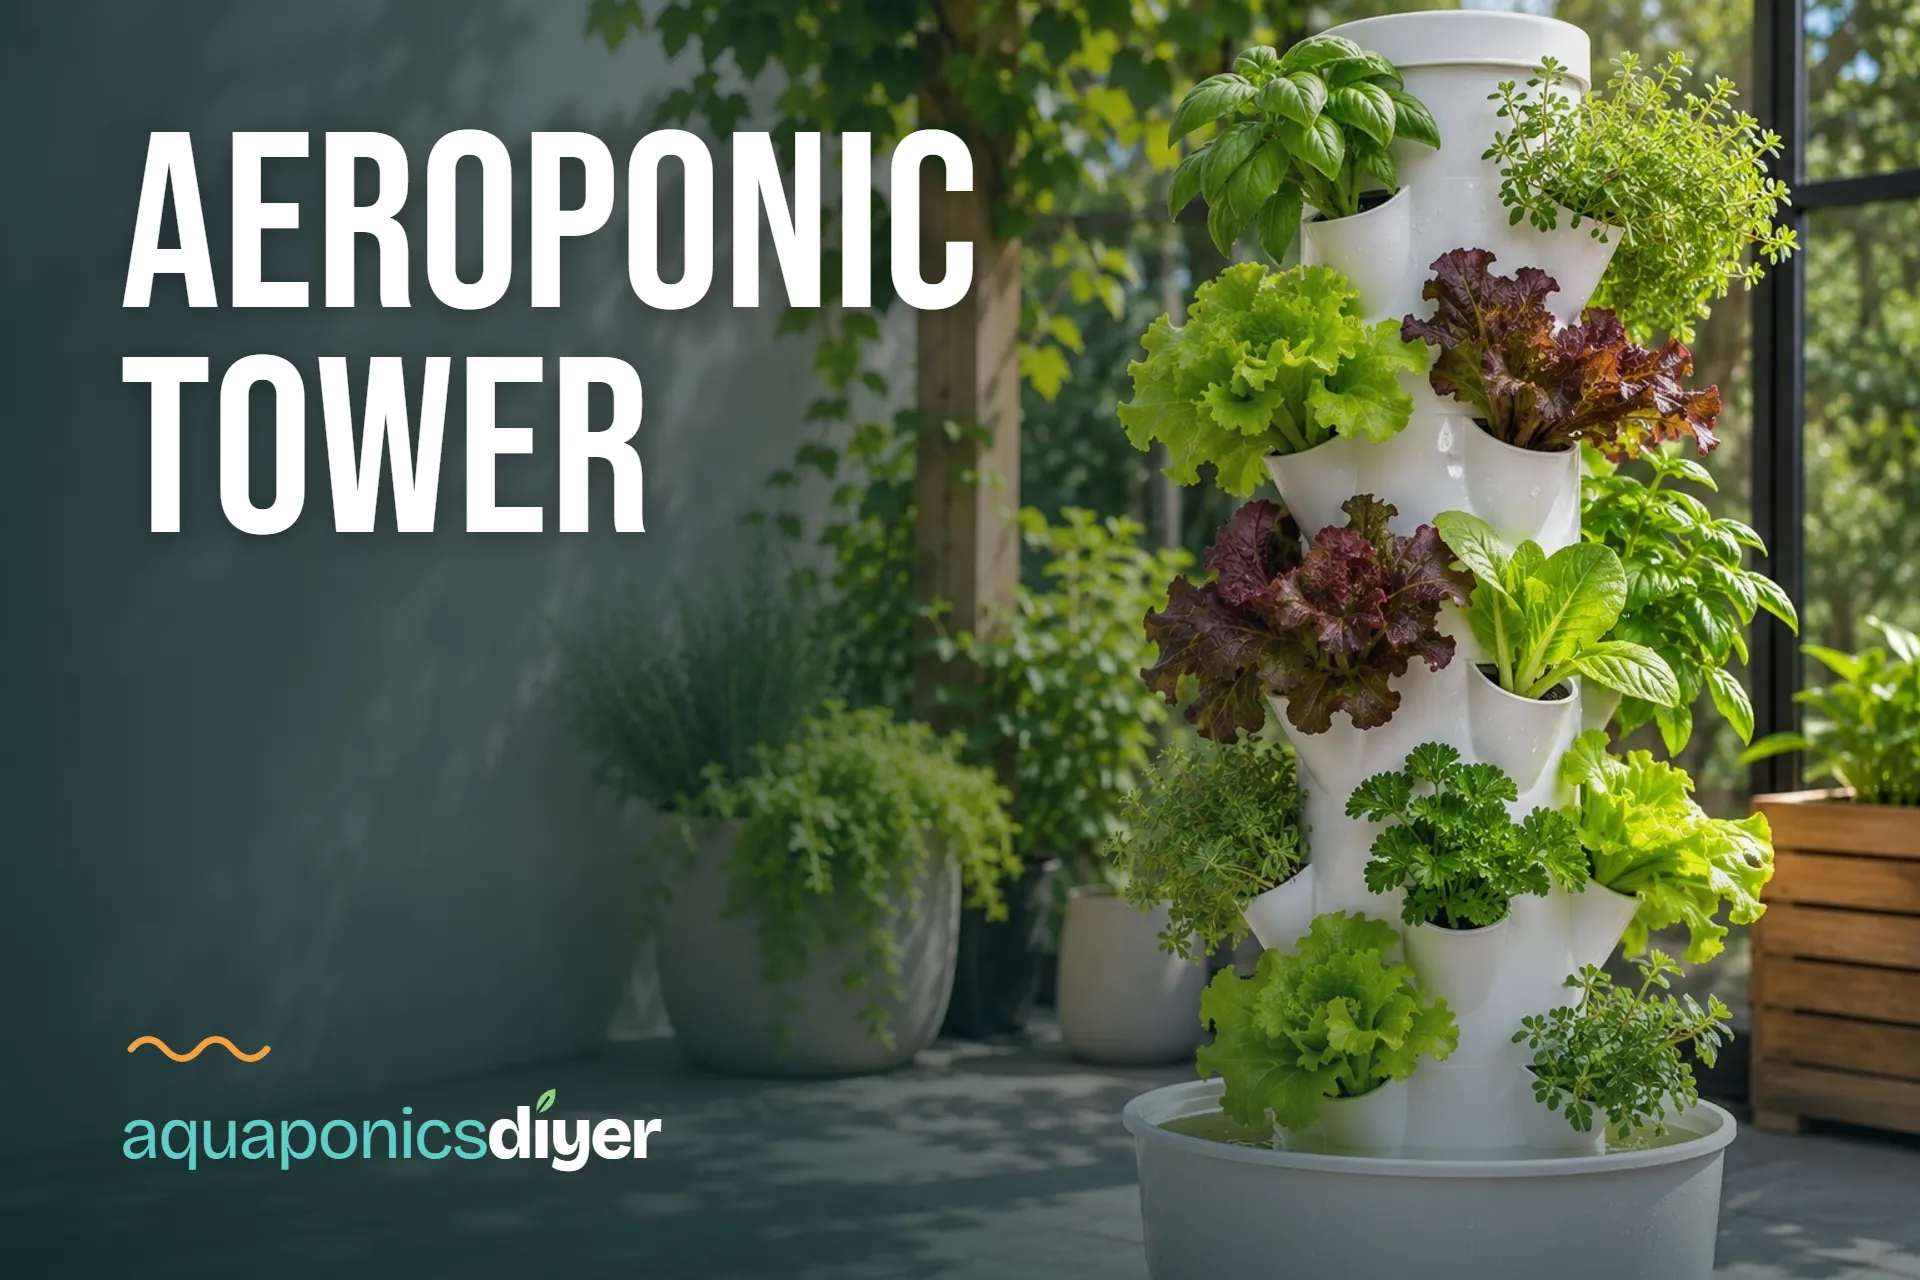
An aeroponic tower is a tall, upright hydroponic planter where plants sit in sockets around the outside and their roots hang inside, in the air, while a pump feeds them nutrient solution from a reservoir at the base. The pump lifts the solution to the top and it runs back down past the roots, so the plants get water, nutrients and oxygen at once, in a footprint of a few square feet. This guide explains how that works, whether towers live up to the claims, how to build a DIY one with real measurements, how to plant and run it, and when buying one makes more sense.
Facts below come from sources we name as we go: the NASA Spinoff 2006 article on AgriHouse, Tower Garden's own growing guide (an older edition, hosted by a reseller), the University of Hawaii CTAHR publication VC-1 by B. A. Kratky (2010), and the product listings. The DIY design is our own layout, worked out on paper from standard parts, and we say so where it matters.
How an Aeroponic Tower Works
Every tower has the same four parts: a reservoir, a pump, a distribution point at the top, and the tower body with plant sockets. The nutrient solution lives in the reservoir. The pump pushes it up a hose to the top of the tower, where it comes out and runs down through the tower. Roots grow into the open space inside, and the solution that is not taken up drains back into the reservoir to be used again.
The Pump and the Reservoir
Tower Garden's guide describes a nutrient reservoir with a submersible pump, a hose to the tower and a timer. Its reservoir holds approximately 20 gallons when filled to within 3 inches of the top lid, and the guide says to keep enough solution in it so the pump stays completely submerged. A full reservoir should last 2 to 3 weeks, and the guide warns not to let the tank drop more than half way.
The Top and the Cycle
On a Tower Garden, the solution comes out at a shower cap at the top, and the guide has a troubleshooting entry for what to do if the shower cap runs over because its holes are plugged. The pump runs on a cycle rather than continuously: the guide recommends 15 minutes on and 15 minutes off, with cooler seasons allowing longer periods without water. The ALTO Garden listing describes the same loop: water is pumped to the top of the tower, drips down into the reservoir and is pumped back up again.
Where the Aeroponics Comes In
Aeroponics, in the NASA Spinoff 2006 article, means growing plants in an air and mist environment free of soil or aggregate media, with roots made moist by a hydro-atomized, nutrient-rich spray released in timed intervals. A tower is a halfway version: the roots do hang in air inside the tower, as the ALTO listing puts it, but they are wetted by running water rather than a fine mist. That is why many growers call these towers hydroponic and some call them aeroponic. The TIRUSS tower we mention below is sold as an aeroponic tower.
Aeroponic vs Hydroponic Towers
A hydroponic tower and an aeroponic tower look almost identical from outside, and that is why shoppers get confused. The roundup in our best hydroponic tower gardens guide covers the buying side; here is the engineering side.
What Actually Changes
In a falling-water tower, a pump lifts solution to the top and gravity does the rest. Nothing in it needs high pressure, which keeps the pump cheap and the build simple. In a true aeroponic system, the nozzles spray a fine mist onto bare roots on a timer, and that needs a pressure pump and nozzles that can clog. The NASA Spinoff article describes the commercial version as a microcomputer releasing the spray at timed intervals.
Which One Is a Home Tower?
Nearly every home tower you can buy or build is the falling-water type. The difference only matters when a listing promises faster growth: that kind of claim is usually the seller's, not an independent test. The TIRUSS listing, for example, says tower systems have been shown to grow plants up to 3x faster, and the ALTO listing claims 3x faster harvests and 30% greater yields, both compared with soil. We treat these as seller claims, not measured results. Our hydroponic guides stay with what extension sources and manufacturers' manuals say.
Do Aeroponic Towers Work?
Yes, for the right crops and the right spot. Tower Garden's own guide grows lettuce, herbs and fruiting crops such as tomatoes, cucumbers and peppers in it, and the principle (roots in water and air, nutrients circulated) is the same as any hydroponic system. What decides whether yours works is mostly the location and the upkeep.
Where Towers Work Well
They suit patios, balconies and small yards, because the footprint is small and the plants grow upward. The ALTO listing quotes 24 plants in less than 3 square feet. They are best for leafy greens and herbs, and our hydroponic basil guide covers a typical tower crop.
Where They Struggle
Towers depend on the pump, light and heat. The guide asks for full sun or high light for a minimum of 5 to 6 hours for productive food crops, and for keeping water at 85 degrees or less, with shade from mid afternoon in intense summer heat. Large plants like tomatoes and peppers should be kept compact or trained up strings or trellises. Algae shows up if light gets into the reservoir or shower cap, so all lids must be tight.
How to Build a DIY Aeroponic Tower
This is a falling-water tower built from 4 inch PVC pipe, a submersible pump and a dark reservoir. It is our own layout, calculated rather than copied from a published plan, and we describe the measurements so you can check them against your own pipe before you cut. For other hydroponic builds, see our DIY hydroponic system guide, and for a tower with fish, see aquaponics tower.
The Layout
A 5 foot (60 inch) length of 4 inch pipe leaves about 48 inches of usable height once you set aside 6 inches at the top for the cap and 6 at the bottom where the pipe meets the lid. Rows spaced 8 inches apart give 6 rows. Put 3 sites in each ring, 120 degrees apart, and rotate each row 60 degrees from the last, so every plant has open sky and is not shaded by the one above. That gives 18 plant sites. Cut each site with a 2 inch hole saw to match 2 inch net cups. Measure the circumference of your own pipe first: three 2 inch holes need to fit around it with some pipe left between them.
Building a 5 Foot Aeroponic Tower
-
Cut and mark the pipe
Cut the 4 inch pipe to 60 inches. Mark 6 rows 8 inches apart, starting 6 inches from the bottom. Each row gets 3 marks, 120 degrees apart, rotating each row 60 degrees from the one below.
-
Drill the plant sites
Cut the marks with a 2 inch hole saw so the 2 inch cups sit in the holes by their rim. Deburr each hole so roots and cups do not catch. Cut a few small drain notches at the bottom edge so water can return to the reservoir.
-
Prepare the reservoir
Use a dark, lidded tote of about 10 to 15 gallons, which is a starting point we chose by scaling down from Tower Garden's roughly 20 gallons. Cut a hole in the lid slightly larger than the pipe so the pipe stands in the lid, and a small second hole for the pump cord. A dark tote keeps light out and the algae down.
-
Plumb the pump
Set the pump in the tote and run 1/2 inch tubing up the inside of the pipe to the top. The VIVOSUN pump we list is rated at 800 GPH with 10 ft of lift, far more than 18 sites need, so fit a ball valve on the outlet and open it only until the solution trickles at the top.
-
Make the top distributor
Cap the top of the pipe. Drill a ring of small holes around the tube end, or fit a cross with drilled holes, so the solution runs down the inner walls instead of dropping in one stream. Keep the holes clean with a toothpick, as Tower Garden advises for its shower cap.
-
Add the timer
Put the pump on a timer. Use Tower Garden's recommended 15 minutes on and 15 minutes off as the starting point, then adjust if roots look dry or leaks appear.
-
Test with plain water first
Run the tower with plain water before you add plants. Look for even flow at the top, leaks at the lid and drips from the sites. Fix leaks now, because a leaking tower empties its reservoir and starves the pump.
Also stand or fasten the pipe: a tall tube full of plants is top-heavy. Anchor it to a wall, fence or stake, and make sure the tote sits level, because Tower Garden's guide lists an unlevel tower as a cause of leaks around the net pots.
Parts for the DIY tower
Beyond the pipe, cap, tubing and a dark tote from the hardware store, these are the parts that matter most.
-
1Net cups
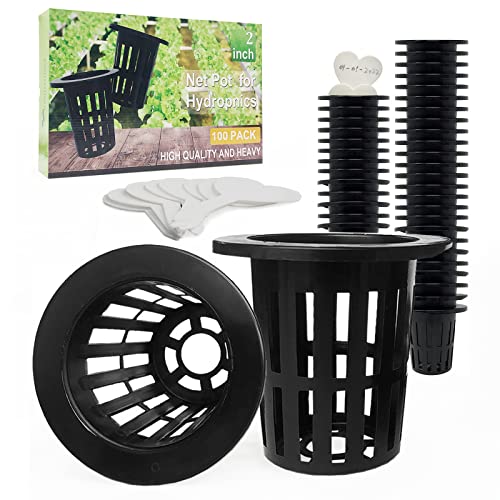
Tmtamye 100 Pack 2 Inch Net Pots
A wide lip that sits in a 2 inch hole, and the listing names tower garden among its uses. A hundred is far more than 18 sites, so you have spares.
-
2Pump
VIVOSUN 800GPH Submersible Water Pump
Listed at 800 GPH with 10 ft of lift and 3 nozzles for hydroponics. Throttle it with a ball valve for a tower this size.
-
3pH and EC meter
VIVOSUN Digital pH Meter and TDS EC Meter
Reads pH, TDS and EC, and comes with 3 calibration buffers per the listing, so you can check the reservoir twice a week.


How to Plant an Aeroponic Tower
Start seeds in rockwool or buy seedlings, then move them into the tower sockets once they have roots. Tower Garden's guide gives the method for its rockwool starter cubes, which transfers to any tower.
Starting Seeds in Rockwool
Wet the rockwool starter cubes for 30 minutes, then seed. For gourmet lettuce, the guide places 6 to 12 seeds per hole, and for herbs up to 6; for larger seeds like tomatoes, cucumbers, peppers and beans, 1 or 2 seeds per hole. It covers the seeds with dry, coarse vermiculite and keeps the tray moist. After 1 to 3 weeks, healthy seedlings have a good root system growing from the cubes. See our guide to rockwool cubes for the cube sizes and what to buy.
Transplanting and Spacing
Place one seedling cube in each net pot and press it gently until it touches the base of the pot. The guide warns that if the cube does not touch the base of the net pot, the seedling will not get watered. Pick cups that match your sockets (see our guide to net pots). Tall plants like tomatoes and peppers go best at the top, where they can be trained up a string without shading the rows below.
Running It Week to Week
A tower is low maintenance, but it depends on a short weekly routine. Tower Garden's guide gives the baseline: check the water level weekly, and twice a week in hot months or with large plants; check pH twice a week; keep the holes at the top clean; keep roots away from the pump; and clean the pump filter monthly.
pH and EC
The guide gives an optimal pH of 5.0 to 7.0 and says yellowing leaves can mean the pH has drifted out of range. It starts a tower of all new plants at half strength nutrients. For EC, Kratky's lettuce publication says growers should be wary of EC values over 2.0 mS and avoid values over 3.0 mS. That figure is for lettuce, so for other crops check the nutrient label, and see our EC meter guide for how to measure it.
Cleaning the Pump and Nozzles
Roots will find the pump if you let them. The guide says to keep the pump to the side of the reservoir, trim any roots dangling in it, and clean the pump filter monthly. If water stops reaching the top, check the pump is plugged in, the hose is not kinked, and the top holes are clear. Between plantings, drain the reservoir, wash the tower sections in warm soapy water and refill with fresh solution.
Buying an Aeroponic Tower Instead
If you would rather not cut pipe, buying a tower gets you matched parts, a pump, a reservoir and often lights. Two listings give an idea of the range: the TIRUSS 9 layer tower with 36 pots, a water tank and a pump, and the ALTO Garden GX with 24 net pots, LED grow lights, a water pump, a timer and nutrients in the box. Both are listed with the pump and tank included.
We compare these and other towers in best hydroponic tower gardens, including which need power for lights and which do not. If you are still deciding whether a tower is right, start with our aeroponics guide for the method and hydroponic systems for beginners for the alternatives.
Related: aeroponics, best hydroponic tower gardens, aquaponics towers, DIY hydroponic systems, net pots and EC meters.
Grow along with us
New guides and seasonal tips for fish, plants and DIY builds, about once a month.